Did you know that authorizing a PC on iTunes is essential for accessing your purchased music, movies, and apps? If you’ve ever faced the frustration of being locked out from enjoying your media, you’re not alone. Understanding how to authorize your computer can enhance your experience and streamline your access to your favorite content. In this comprehensive tutorial, we’ll guide you through the straightforward steps to authorize a PC on iTunes, ensuring you can enjoy seamless integration across your devices. Whether you’re setting up a new computer or troubleshooting an existing one, knowing how to manage your authorizations is key to enjoying your digital library hassle-free. Let’s dive in and unlock the full potential of your iTunes account!
Understanding PC Authorization on iTunes
Authorizing your PC to access your iTunes purchases is a crucial step for any user wanting to enjoy their multimedia content uninterrupted. This process ensures that you can play, manage, and download the music, movies, and other media you have purchased through the iTunes Store on the specific computer you’re using. Without proper authorization, you may encounter restrictions that limit access to your purchased files, even if they reside on your device.
When you authorize a computer, you’re essentially allowing it to recognize your Apple ID as a valid account for accessing purchased content. Each Apple ID can authorize up to five different computers, which means you can seamlessly switch between them as long as they are associated with your account. The need for authorization is tied to Apple’s digital rights management policies, which help protect content creators’ interests and prevent unauthorized access. This system ensures that your purchases remain secure and only available on devices you control, offering peace of mind about your digital library.
In practice, the authorization process is straightforward. By navigating to the iTunes app on your PC, you can easily grant access by entering your Apple ID credentials. It’s an empowering step that allows you to take full control of your purchased media, facilitating an enjoyable and streamlined experience as you explore your digital collection. Should your needs evolve, you also have the option to deauthorize a PC, enabling you to manage your device roster effectively while keeping your library intact.
Why Authorizing Your PC Matters
Authorizing your PC for iTunes is not just a formality; it is a pivotal step that unlocks access to your multimedia library. When you authorize your computer, you grant it permission to recognize your Apple ID, enabling you to play, download, and sync the music, movies, and other content you’ve purchased from the iTunes Store. Without this crucial authorization, you risk being locked out of your own digital purchases, facing obstacles when trying to access content you’ve already bought.
The importance of PC authorization stems from Apple’s digital rights management (DRM) policies, which are designed to protect both users and content creators. By restricting access to authorized computers, Apple ensures that content is only available on devices that you control, thus safeguarding your purchases against unauthorized use. Each Apple ID can authorize up to five different computers, offering flexibility for users who may switch devices often. This means that you can enjoy your iTunes library no matter where you are, as long as you’re using an authorized machine.
Furthermore, authorizing your PC enhances your overall experience with iTunes. Once your computer is authorized, you can effortlessly manage your media collection, ensuring that your favorite playlists, movies, and shows are always accessible. For instance, you can sync files between your mobile devices and your computer or share your library across various devices without hindrance.
In addition to convenience, the authorization helps maintain the integrity of your digital content. It acts as a protective measure, reassuring users that their libraries are secure and only accessible to them. This understanding fosters a sense of ownership and control over your digital media, allowing for a more personalized and enjoyable experience while using iTunes.
Step-by-Step Guide to Authorizing Your PC
Authorizing your PC is an essential step for accessing your iTunes purchases, whether it’s music, movies, or apps. This process ensures that your computer can play and synchronize your purchased content securely. Here’s a straightforward guide to help you navigate the authorization process effectively.
Steps to Authorize Your PC in iTunes
- Open iTunes: Start by launching the iTunes application on your Windows PC. Make sure you are logged in with your Apple ID, as authorization will require it.
- Access Account Settings: In the top menu, click on Account. If you don’t see the menu bar, press Control + B to reveal it.
- Select Authorization: From the dropdown menu, hover over Authorizations and then select Authorize This Computer.
- Enter Your Details: A pop-up window will appear asking for your Apple ID password. Enter your password and click Authorize. This allows your computer to access your iTunes account and play the content you’ve purchased.
- Confirmation: Once the authorization is successful, iTunes will notify you that your computer has been authorized. You can now enjoy all your iTunes content hassle-free.
What to Do If Authorization Fails
If you encounter an issue during the authorization process, first ensure that your Apple ID and password are correct. Additionally, confirm that you’re not exceeding the limit of five authorized computers per Apple ID. If further issues arise, you may need to check your internet connection or consider updating your iTunes application to the latest version.
By following these steps, you can authorize your PC without complications, ensuring that your digital library remains accessible and enjoyable. Make sure to perform regular checks if you switch computers frequently and always keep your Apple ID secure to protect your digital purchases.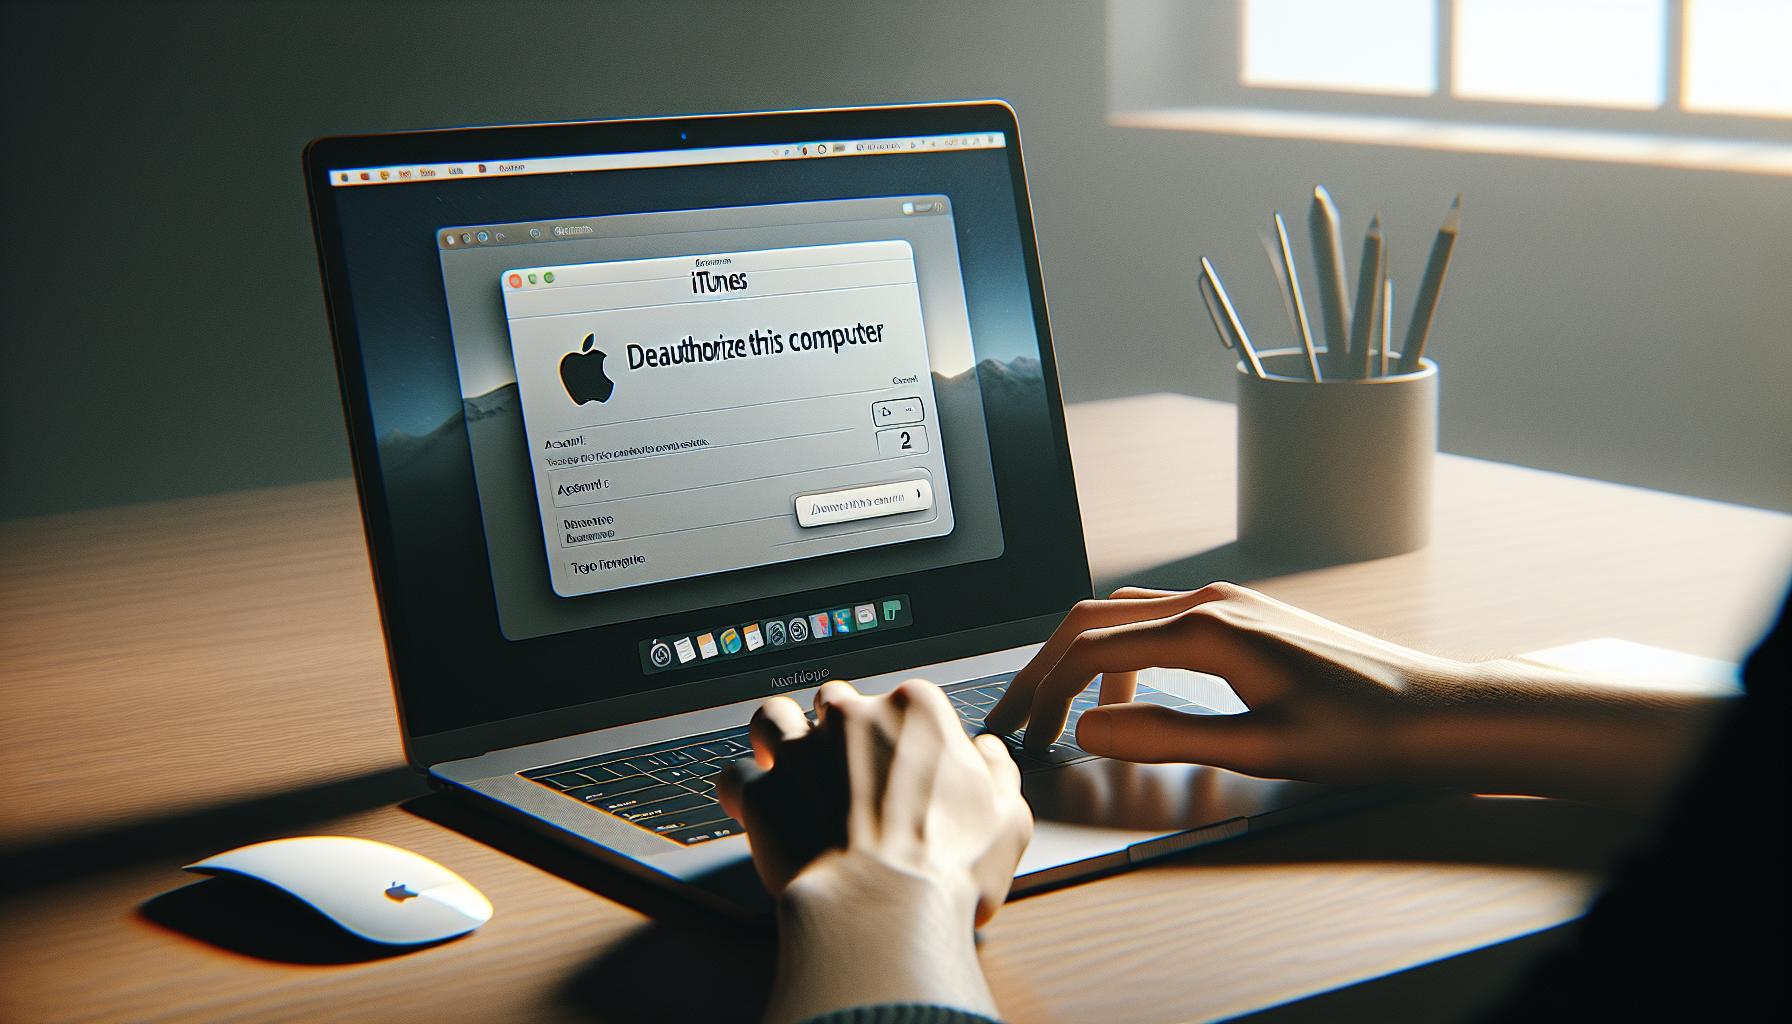
How to Deauthorize a PC on iTunes
When it comes to managing your digital content through iTunes, understanding how to deauthorize a PC is just as crucial as authorizing one. Deauthorization is necessary when you no longer want a specific computer to access your iTunes purchases, such as music, movies, and apps. This might occur if you’re selling your computer, upgrading to a new one, or simply no longer using it for iTunes. Being proactive about deauthorizing can help you maintain the limit of five authorized devices associated with your Apple ID.
To deauthorize your PC in iTunes, you can follow these straightforward steps:
Steps to Deauthorize Your PC
- Launch iTunes: Start the iTunes application on your computer and make sure you’re logged in with your Apple ID.
- Access Account Settings: In the top menu bar, click on Account. If the menu bar isn’t visible, you can press Control + B to show it.
- Select Deauthorize: Hover over Authorizations in the dropdown menu, then click on Deauthorize This Computer.
- Input Your Credentials: A prompt will appear asking you to enter your Apple ID password. Input your credentials and click Deauthorize.
- Confirmation: Once confirmed, iTunes will notify you that your computer has been successfully deauthorized.
It’s important to note that if you forget to deauthorize a computer before you stop using it, it may count against your limit of five devices. If you reach this limit, iTunes offers an option to deauthorize all computers linked to your account, which can be done from the same Account menu. However, be mindful that this action will require you to reauthorize any computers you intend to use with iTunes afterward.
By regularly managing your authorized and deauthorized devices, you ensure that your Apple ID remains secure and that your content is accessible only from the devices you choose. This not only helps you stay within the limits set by Apple but also provides peace of mind knowing your purchases are protected.
Troubleshooting Common Authorization Issues
Authorization issues can be frustrating, especially when you’re eager to access your iTunes purchases. If you’re facing challenges while trying to authorize your PC, understanding the common problems and their solutions can help streamline your experience.
One common issue arises when your Apple ID password has been changed or is entered incorrectly during the authorization process. If you encounter a password-related error, double-check to ensure you’re entering the correct credentials. If you’ve forgotten your password, you can reset it through the Apple ID account page. Ensure that your internet connection is stable, as a weak or intermittent connection can also prevent authorization from completing successfully.
Another frequent problem is hitting the five-device authorization limit. If you’d previously authorized five devices, you won’t be able to authorize a new one until you deauthorize one of the existing ones. To tackle this, you can either deauthorize a device you no longer use from the Account menu in iTunes, or you might choose to deauthorize all computers linked to your Apple ID. Keep in mind that deauthorizing all will require you to reauthorize the devices you still wish to use, so proceed with caution.
If you find that your PC refuses to authorize even after following these steps, resetting the iTunes application settings can be beneficial. Closing and reopening iTunes or restarting your computer can resolve temporary glitches. Additionally, ensure you’re running the latest version of iTunes, as updates can fix bugs and improve functionality. If problems persist, consider seeking assistance from Apple Support for more tailored guidance.
By addressing these common issues proactively, you can mitigate the frustrations associated with iTunes authorization, ensuring smooth access to your music and movies.
What to Do When You Reach the Authorization Limit
Reaching the authorization limit on your iTunes account can be a hurdle that interrupts your enjoyment of music and movies. Apple allows you to authorize a maximum of five devices using one Apple ID, which means that if you encounter this limit, you won’t be able to authorize additional devices until you make some adjustments. Here’s how to effectively navigate this situation.
First, consider which devices you want to access your iTunes purchases on. If you have old devices or computers that you no longer use, this is a perfect opportunity to deauthorize them. To deauthorize a device, open iTunes, click on Account, and then select Authorizations followed by Deauthorize This Computer. You will need to enter your Apple ID and password for confirmation. This way, you free up an authorization slot, allowing you to authorize a new or preferred device instead.
In cases where you have completely lost track of which devices are authorized or can’t access one of them, you have the option to deauthorize all computers associated with your Apple ID. This is a more drastic measure as it wipes all authorizations, but it allows you to start fresh. To do this, navigate to iTunes, select Account, then Authorizations, and choose Deauthorize All Computers. After performing this action, you will need to reauthorize any device you wish to continue using. Keep in mind that this approach may temporarily disrupt your access to purchased content until you reauthorize your current devices.
Lastly, if you find yourself consistently hitting the limit, consider reviewing your device usage habits. Are there devices you could consolidate? Or perhaps you could explore sharing content with family members using Family Sharing, which effectively allows you to enjoy your iTunes library without the hassle of managing multiple authorizations. By strategically managing your device authorization and actively monitoring your usage, you can ensure that your iTunes experience remains seamless and enjoyable.
Managing Multiple Computers with iTunes
can seem daunting, especially with the restrictions and limits imposed by devices authorized under a single Apple ID. However, employing effective strategies can streamline your experience, allowing you to enjoy your iTunes library on various devices without unnecessary stress.
One of the first steps in managing multiple computers is understanding the authorization limits imposed by Apple. Each Apple ID can authorize a maximum of five devices at a time, which includes both Macs and Windows PCs. It’s crucial to periodically review which devices are currently authorized to ensure that none of your slots are occupied by outdated or unused computers. By regularly checking this, you can deauthorize any old machines you no longer use, thereby freeing up space for newer devices or those you actively use.
To easily manage your authorized devices, consider maintaining a simple log of which computers you’ve authorized and their respective roles in your media consumption. This could be as simple as a note on your phone or a spreadsheet listing the devices. Thus, whenever you need to authorize a new computer, you’ll have a clear understanding of how many slots are available and which computers might need to be deauthorized.
Additionally, utilizing the Family Sharing feature can significantly ease the management of multiple computers. With Family Sharing, members can share access to iTunes purchases without needing to authorize multiple devices under the same Apple ID. This way, everyone in the family can access shared music, movies, and apps without hitting the authorization limit set by Apple. It fosters a shared experience without complicating individual accounts or device management.
Lastly, familiarize yourself with the process of deauthorizing devices, both individually and as a group. If you decide to deauthorize all computers, remember that you’ll need to reauthorize your preferred devices, so plan accordingly. This proactive approach not only keeps your library accessible but also ensures that your devices remain manageable and secure. By adopting these practices, you can transform the management of multiple computers with iTunes from a source of concern to a smooth and enjoyable experience.
Differences Between Authorizing and Syncing
While many users of iTunes often conflate the concepts of authorizing a computer and syncing devices, these processes serve distinctly different purposes in managing your media library and accessing your content. Understanding the difference is essential for a seamless user experience.
When you authorize a computer, you are granting it permission to access your iTunes Store purchases, allowing that device to play content purchased under your Apple ID. This is particularly important if you regularly buy music, films, or apps. As mentioned, each Apple ID can authorize up to five computers, which means you might need to manage these authorizations carefully. If you authorize a new computer without deauthorizing an old one, you risk hitting your authorization limit and could potentially prevent access to your content on the older device.
On the other hand, syncing refers to the process of transferring data between your device (like an iPhone, iPad, or iPod) and iTunes on your authorized computer. This can include music, videos, playlists, and apps. Syncing ensures that all your media content is current, reflecting any new purchases or changes made on any of your devices. It is a routine process that keeps your digital library consistent across your devices.
To summarize the key distinctions:
| Authorization | Syncing |
|---|---|
| Grants permission to access purchased content on iTunes. | Transfers data between devices and iTunes. |
| Limits set by Apple (up to 5 devices per Apple ID). | No specific limit on how many devices can sync; it’s often about storage and space. |
| Necessary for accessing purchased movies, music, and apps on a new computer. | Used for keeping content up-to-date and consistent across multiple devices. |
Understanding these differences can empower users to take full advantage of iTunes, helping you manage your media more effectively while ensuring that your digital library remains accessible and organized across all your devices. This clarity not only enhances your experience with iTunes but also minimizes potential issues related to permissions and data management.
Upgrading Your iTunes Experience with Authorization
Making the most of your media library on iTunes begins with understanding how to effectively utilize computer authorization. With up to five devices authorized per Apple ID, this feature not only ensures access to your purchased content but also facilitates seamless integration and management of your media. Authorizing your PC opens doors to a richer iTunes experience by allowing you to enjoy your library wherever you are, without the hassle of constant re-authorizations or forgotten passwords.
To upgrade your iTunes experience, start by ensuring that the computers you frequently use are authorized. This step enables you to download and stream your music, movies, and apps directly to those devices. If you travel often or have multiple computers, consider managing your authorizations wisely. Regularly deauthorize computers that you no longer use, so that you can keep your allowance available for new devices. This practice can prevent the frustration of hitting your authorization limit just when you want to enjoy your latest purchase on a new device.
Additionally, keeping your computer secured with an updated operating system and the latest version of iTunes enhances not only performance but also security. By following best practices, such as using strong passwords for your Apple ID and enabling two-factor authentication, you can protect your purchased content while enjoying the convenience of quick access. As you explore the various features iTunes offers-like curated playlists, personalized recommendations, and seamless syncing across devices-authorizing your PC becomes an essential foundation for a more enriched, organized digital media experience.
Best Practices for Using Authorization
- Regularly Check Authorizations: Make it a habit to review which computers are authorized under your Apple ID. This can prevent unexpected limits when accessing your media.
- Deauthorize When Necessary: If you purchase a new computer or no longer use a previous one, deauthorize it to free up your account for new devices.
- Stay Updated: Ensure your iTunes and operating system are up-to-date to benefit from the latest security features and functionalities.
Understanding these aspects of iTunes authorization empowers you to have more control over your digital media landscape while keeping it accessible and secure. Transitioning into an upgraded iTunes experience is just a few steps away, paving the way for a more enjoyable and worry-free engagement with your favorite songs, shows, and apps.
Understanding Apple ID and Its Role in Authorization
Your Apple ID is more than just a username; it serves as the key to your digital realm within Apple’s ecosystem, including iTunes authorization. When you authorize your PC using your Apple ID, you’re giving that computer permission to access and manage the media you’ve purchased through iTunes. This is crucial because it allows you to play your music, movies, and apps without restriction, simplifying the entire process of managing your digital library across multiple devices.
Having an Apple ID means you can authorize up to five devices at any given time. This flexibility is particularly beneficial for those who switch between devices or travel frequently, as it allows you to make full use of your iTunes library wherever you go. Each time you authorize a new device, it creates a secure connection that ensures your purchases are protected. However, with this convenience comes responsibility; if you exceed the limit of authorized devices, you may have to deauthorize another before you can authorize a new one. Regularly managing your authorizations helps prevent frustration and ensures that your favorite media is always accessible.
To maximize your Apple ID’s capabilities, consider the following best practices for managing authorizations:
- Regularly Review Authorizations: Keep track of which devices are authorized to prevent reaching the limit unexpectedly. This can be done directly through iTunes under the Account settings.
- Deauthorize Old or Unused Devices: If you upgrade your computer or no longer use a device, make sure to deauthorize it. This frees up space for other devices and keeps your account clear.
- Enhance Security: Protect your Apple ID with strong, unique passwords and enable two-factor authentication to add an extra layer of security, safeguarding your purchases and your information.
Understanding the role of your Apple ID in the authorization process is essential for enjoying a seamless experience with iTunes. By actively managing your devices and safeguarding your account, you can unlock the full potential of your digital media library while maintaining secure access to your content.
Best Practices for Keeping Your iTunes Secure
In the digital age, safeguarding your iTunes account is as essential as ever, especially given the vast collection of movies, music, and apps many users accumulate. The repercussions of a compromised account can be severe, ranging from unauthorized purchases to the loss of access to your content. Therefore, implementing robust security measures is paramount to ensure that your digital library remains secure and your personal information protected.
Utilize Strong Passwords
One of the most straightforward yet effective ways to enhance your iTunes security is to use a strong, unique password for your Apple ID. A strong password typically includes a mix of upper and lowercase letters, numbers, and special characters, and should be at least 12 characters long. Avoid common words or easily guessable information such as birthdays or pet names. Tools like password managers can help you generate and store complex passwords securely, reducing the risk of password-related breaches.
Enable Two-Factor Authentication
Two-factor authentication (2FA) adds an additional layer of protection on top of your password. With 2FA enabled, even if someone manages to obtain your password, they will still need access to your trusted device to complete the sign-in process. This feature ensures that only you can access your account, significantly decreasing the likelihood of unauthorized access. You can enable 2FA through your Apple ID settings, ensuring that your account remains as secure as possible.
Monitor Authorizations Regularly
Keeping track of which devices are authorized to access your iTunes account is crucial. Regularly reviewing the list of authorized computers and devices helps you quickly identify any unauthorized access. This can be done through the iTunes app under Account > Authorizations > View Authorized Computers. If you notice any unfamiliar devices, it’s essential to act immediately by deauthorizing them and changing your password to prevent potential misuse.
Beware of Phishing Scams
Finally, remain vigilant against phishing attempts that aim to steal your Apple ID credentials. Be cautious of unsolicited emails or messages that request your Apple ID or personal information. Authentic Apple communications will never ask for sensitive information via email. When in doubt, visit the Apple website directly or contact Apple Support for verification rather than clicking on links provided in suspicious messages.
By adopting these proactive measures, you can significantly enhance the security of your iTunes account, ensuring that your digital media remains protected and your personal information secure. With a little diligence and the right practices in place, you can enjoy all that iTunes offers while minimizing the risks associated with unauthorized access.
FAQs About PC Authorization on iTunes
Navigating the intricacies of PC authorization on iTunes can sometimes raise questions, especially for new users or those encountering issues. Below are answers to some frequently asked questions that can help demystify the process and ensure smooth access to your digital library.
Why Do I Need to Authorize My PC for iTunes?
Authorizing your PC allows you to play content purchased from the iTunes Store, including music, movies, and apps. Each authorized computer can access your iTunes purchases, ensuring that only those devices associated with your Apple ID have permission to access your content. This measure is vital for protecting your account and its contents from unauthorized use.
How Many Computers Can I Authorize?
You can authorize up to five computers using your Apple ID. This limit is set to strike a balance between convenience and security, preventing unauthorized access while allowing you enough leeway to use your account across multiple devices. If you reach this limit but need to authorize a new computer, you must either deauthorize one of your existing authorized computers or reset your list through your iTunes account settings.
What Should I Do If I Forget to Authorize My New PC?
If you forget to authorize your new PC, simply open the iTunes app, navigate to the Account menu, and select “Authorize This Computer.” You will need to enter your Apple ID credentials. If you face issues, ensure that you are using the correct Apple ID associated with your purchases.
Can I Remove an Old Computer from My Authorizations?
Yes, you can easily deauthorize any old or unused computer directly through iTunes. Go to the Account menu, select Authorizations, then choose “Deauthorize This Computer.” Alternatively, if a computer is lost or no longer in use, you can deauthorize all computers linked to your Apple ID by navigating to “Account Settings” in iTunes and selecting “Deauthorize All.” Keep in mind, however, that you will need to authorize your computers again one at a time.
What Errors Might Occur During Authorization?
Common issues during the authorization process include receiving error messages related to incorrect Apple ID or password. Ensure that you enter the right credentials. Additionally, if you exceed the maximum number of authorized computers, you’ll be prompted to deauthorize an existing one. If you continue to encounter issues, consider checking your internet connection or updating your iTunes application to the latest version to ensure compatibility.
By understanding these common queries, you can make the authorization process more manageable and enjoy your iTunes content with confidence. Always remember to monitor your authorized devices regularly to maintain the security of your digital library.
Q&A
Q: How do I know if my PC is already authorized for iTunes?
A: To check if your PC is authorized, open iTunes and go to Account > Authorizations > Authorize This Computer. If the option appears, the PC has not yet been authorized. If it says “Deauthorize This Computer,” it is already authorized. For more details, visit the Step-by-Step Guide to Authorizing Your PC section.
Q: What happens if I reach the authorization limit on iTunes?
A: If you reach the limit of five authorized computers, you won’t be able to authorize another until you deauthorize an existing one. To manage your devices, visit the What to Do When You Reach the Authorization Limit section for guidance on deauthorizing computers.
Q: Can I authorize my PC without an Apple ID?
A: No, you must have an active Apple ID to authorize a PC on iTunes. Your Apple ID links your purchases and content, making it necessary for authorization. If you need help, see the Understanding Apple ID and Its Role in Authorization section.
Q: How do I deauthorize a PC safely?
A: To deauthorize your PC, go to Account > Authorizations > Deauthorize This Computer in iTunes. If you want to deauthorize all computers, select Deauthorize All from the Account Information page. For further assistance, refer to the How to Deauthorize a PC on iTunes section.
Q: Is there a way to track how many computers I’ve authorized with my Apple ID?
A: Yes, you can check your authorized computers by visiting Account > View My Account in iTunes. Under Computer Authorizations, you can see how many computers are authorized for your Apple ID. For details, see the Managing Multiple Computers with iTunes section.
Q: Can I use iTunes on multiple PCs with the same Apple ID?
A: Yes, you can use the same Apple ID on multiple PCs, but you can authorize only up to five computers at a time. For optimal management, refer to the Managing Multiple Computers with iTunes section for best practices.
Q: What should I do if my iTunes authorization does not work?
A: If your iTunes authorization fails, ensure you’re using the correct Apple ID and password. If issues persist, try resetting your Apple ID password or reinstalling iTunes. Visit the Troubleshooting Common Authorization Issues section for more solutions.
Q: Does authorizing my PC allow me to sync all my devices?
A: Authorizing your PC on iTunes allows you to play and download purchases linked to your Apple ID, but it does not automatically sync all devices. Syncing requires specific settings for each device. For more details, check the Differences Between Authorizing and Syncing section.
The Way Forward
Congratulations! You’ve successfully authorized your PC on iTunes, unlocking seamless access to your favorite music and media. Remember, keeping your devices authorized means you can enjoy all the latest content without any hassle. If you have any lingering questions or run into issues, check out our detailed guides on troubleshooting iTunes or managing your Apple ID for additional help.
Don’t stop here-explore our comprehensive tutorials on how to transfer music between devices or learn about the benefits of an Apple Music subscription to enhance your listening experience. For regular updates and exclusive tips, consider subscribing to our newsletter!
Take action now and dive deeper into the Apple ecosystem-your next favorite playlist is just a click away! Your engagement is important to us, so feel free to leave a comment below or share this tutorial with friends who might need a hand with iTunes too. Happy listening!
Get our latest guides, news, and insights highlighted in your Google Search & AI Overviews.